Creating a multi-arch K8 cluster - Part 2 - Installing the OS

One goal was to use Kubernetes on 64-bit because this architecture is widely supported with a growing number of docker images while arm32v6/v7 is silently dying. Only a 64-bit OS can take full advantage of the 4 GB memory of an Raspberry PI 4.
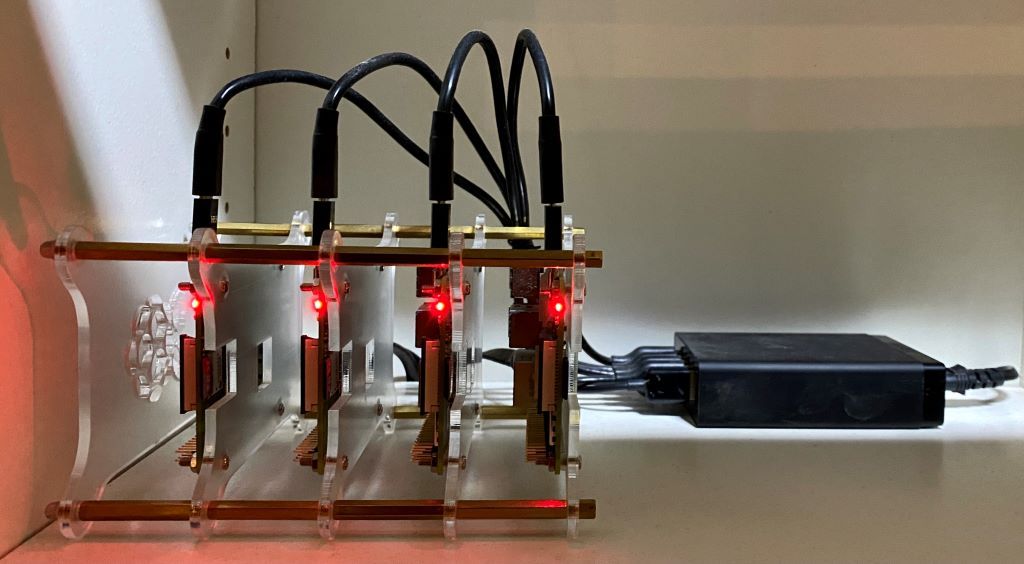
With the hardware that was assembled in Part 1 of this series, the next step is to prepare the Micro SD cards. Problem: Raspian OS is 32-bit and the 64-bit version is still in beta test phase.
Thankfully Ubuntu offers a prepared 64-bit image - and even better - it's the up-to-date 20.04 LTS server image which will be supported until 2025!

At first download and extract the Ubuntu server image and flash all the Micro SD cards using a tool like Etcher or simply the dd command on Mac or Linux:
(Replace ? by the concrete Micro SD card device)
dd bs=1M if=ubuntu-20.04.1-preinstalled-server-arm64+raspi.img of=/dev/sd?
Hint: Ubuntu has also a nice step-by-step guide that uses the Rasperry PI Imager.
After inserting the Micro SD cards and booting up all the PI's the following initial setup steps are necessary: (Repeat these steps on all PIs!)
1. Open a shell and SSH into the PI (user: ubuntu / password: ubuntu)
ssh <ip-address-of-the-pi>
When asked to change the password - do it
2. Create an admin that can sudo
In the following steps we will delete the old Ubuntu default admin group and create new admin user + group and give that admin the ability to do sudo:
sudo delgroup admin
sudo adduser admin
sudo adduser admin sudo
4. Change the default root users password
In case of an emergency when you need local root access it's good to have a password for the root user - by default it is empty and can't be used for local login
sudo passwd
5. Optional step
Edit the sudoers file and add the admin user to do sudo without prompt for a password:
sudo nano /etc/sudoers
Append the following line at the end of the file, save and exit the editor:
admin ALL=(ALL) NOPASSWD:ALL
6. Exit the remote shell and re-login with admin user
ssh admin@<ip-address-of-the-pi>
7. Delete the default ubuntu user
sudo deluser ubuntu
8. Configure locales, timezone, update the system and restart
sudo dpkg-reconfigure tzdata
sudo dpkg-reconfigure locales
sudo apt-get update && sudo apt-get dist-upgrade -y && sudo apt-get autoremove -y

sudo reboot
9. Set hostname and IP address for every PI
Relogin to the PI via ssh, edit the hostname entry in /etc/hostname and give every PI a unique name, save the file and exit the editor.
ssh admin@<ip-address-of-the-pi>
sudo nano /etc/hostname
Hint: I called the first one k8-master followed by k8-node1..3.
When we later add the worker nodes to the Kubernetes master node all nodes need a static IP address.
If you have a DHCP server or Internet router that allows assigning a static IPv4 address based on the MAC address, you can do that in that device. Otherwise continue here:
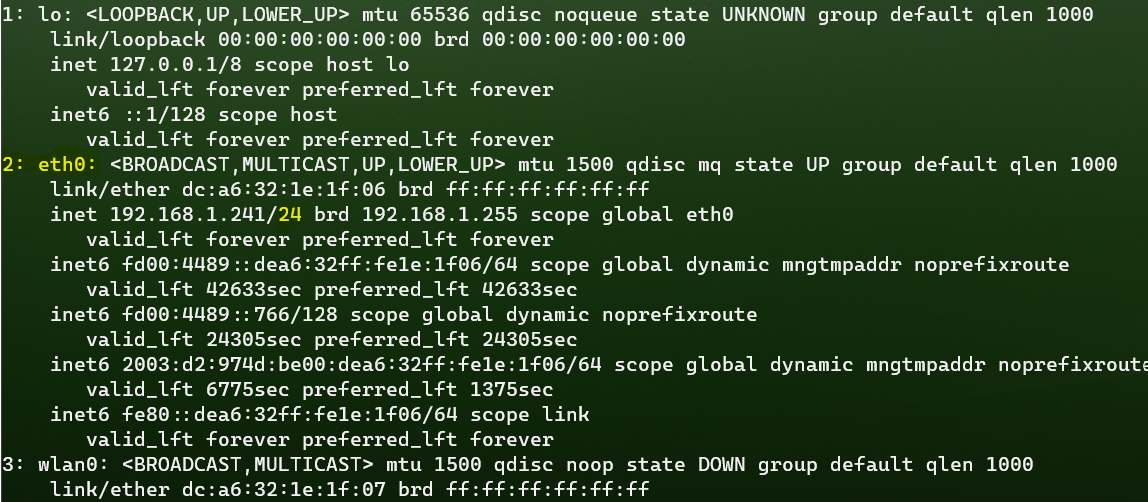
At first try to find out which network interface needs to be configured with a static IP address by executing
ip a
Disable dynamic network configuration via cloud-init on Ubuntu by creating a new configuration file:
sudo nano /etc/cloud/cloud.cfg.d/99-disable-network-config.cfg
Add the following line to this file, save and exit the editor:
network: {config: disabled}
Now create another new file for netplan, that contains the static IP address configuration:
sudo nano /etc/netplan/01-netcfg.yaml
In the following example replace the ? with the specific IP addresses and subnet length of your network:
network:
  version: 2
  ethernets:
    eth0:
      addresses: [192.168.?.?/?]
      gateway4: 192.168.?.?
      nameservers:
        addresses: [?]
Make sure you have no typo or syntax error, otherwise you won't reach the PI anymore via remote SSH!
Now restart the system by executing:
sudo reboot
Thats all for Part 2. The Raspberry PI with Ubuntu server OS is prepared to install Docker and Kubernetes which will be described in Part 3 of this series.
Additional step (for every PI):
If you want to login to the PI via ssh-key instead of username and password you can generate a local ssh key (if you don't already have one) and add the public key to every PI by executing the following steps:
Generate a local ssh-key and give it a password by executing:
ssh-keygen
Now repeat the following step for every PI and copy the public key to the existing admin user on the PI:
ssh-copy-id -i ~/.ssh/id_rsa.pub admin@<ip-address-of-the-pi>
Now the login can easily done by:
ssh admin@<ip-address-of-the-pi>
Enter the password for the private key you generated earlier.