Configuring IntelliJ 14.1 (CE) to work with SonarQube 5.1

The official SonarQube plugin for IntelliJ is not maintained since 2014 and doesn’t show SonarQube results in the IntelliJ IDE. I decided to give the SonarQube Community Plugin a chance. It works but there is one tricky dialog during configuration. I will show you how to install and configure the plugin.
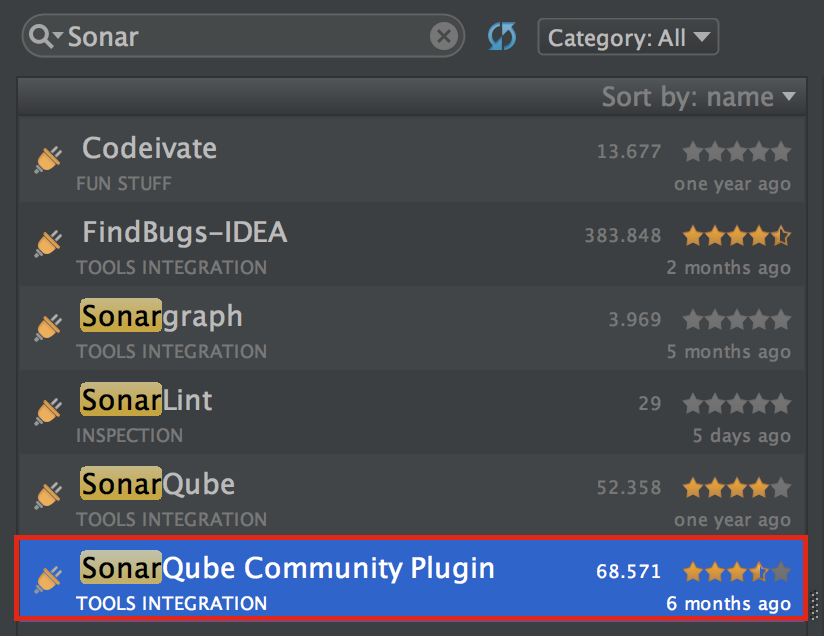
At first make sure that no other SonarQube plugin is installed to avoid side effects.
Next step is to install the actual version of SonarQube Community Plugin using IntelliJ/Preferernces/Plugins dialog. (For Windows: File/Settings/Plugins)
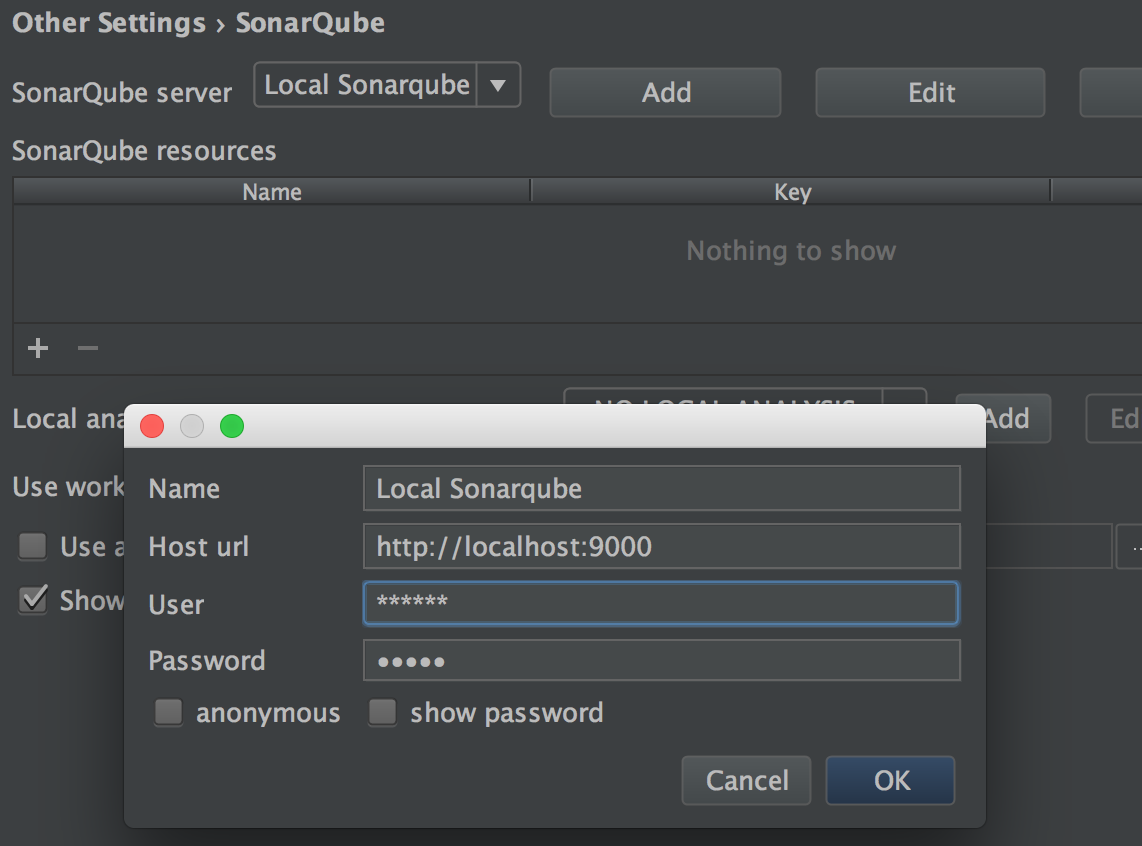
 After IntelliJ has restarted, configure the plugin using IntelliJ/Preferences/Other Settings/SonarQube (For Windows: File/Settings/Other Settings/SonarQube). Add the connection to your SonarQube server as shown in the following screenshot. (Important: Server must be up and running!)
Now the tricky dialog part: Select the + under SonarQube resources. Select „Download resources“ in the next dialog window. It should show all your SonarQube projects. 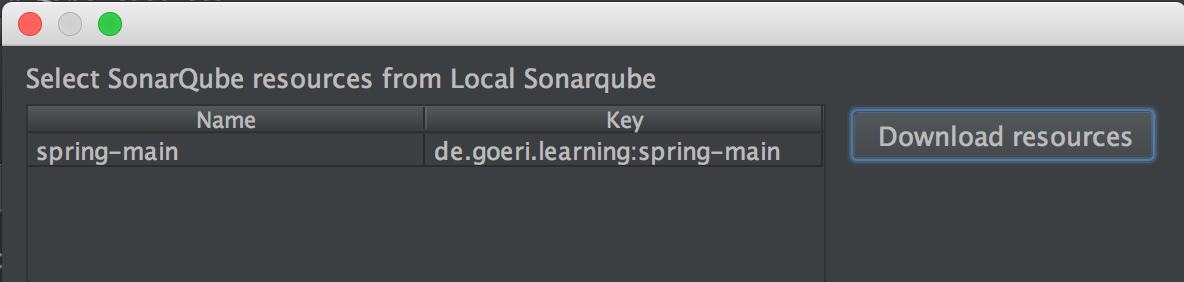 Select the project resources you need and confirm all open dialogs with OK.
You are ready to run Analyze/Inspect code from the IntelliJ menu. In the inspection results tree will be a new branch called „SonarQube“ containing all information from last SonarQube analysis.
Also all analysis results will be presented as tooltips in the IDE – as shown in the next screenshot.

Don’t forget to run Analyze/Inspect code after every SonarQube code analysis to get the actual results from the SonarQube server.